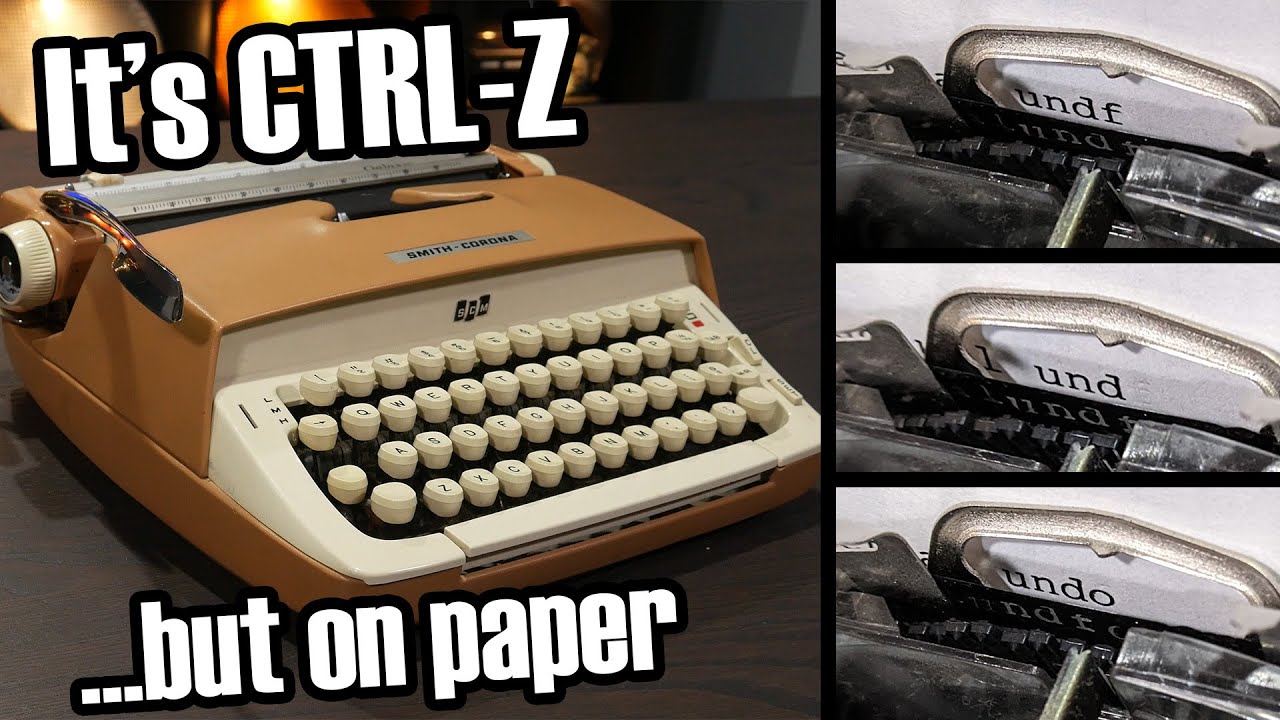
One of the worst shortcomings of the real world (but a boon to those peddling computer-aided design) is the lack of an UNDO button. Thus, when IBM introduced the Correcting Selectric II in 1973, it seemed almost “indistinguishable from magic”. If you hit a wrong key, just push the Correct button at the bottom right of the keyboard, then hit the bad key again and the character vanished from the paper. You could then hit the correct key and go on typing.
But how did it work? It turns out the breakthrough was not in the typewriter mechanism so much as the ribbon, which was so formulated to allow characters transferred from the carbon film to be seamlessly lifted by a special sticky correction ribbon on a separate spool. Of course, the mechanical precision of the IBM Selectric mechanism also contributed to the magic by allowing precise backspacing and registration of the correction stroke with the original character.
I never had one of these typewriters, but the secretaries at the place I worked at the time did, and I would use the Correcting Selectric IIs after hours whenever I needed to type something. At home, I had an original Selectric made in the early 1960s that I’d bought used in 1973. It didn’t have the correction feature, but I discovered that it would work with third-party carbon ribbons spooled into Selectric cartridges. Then you could buy packs of little plastic patches coated with the type lifting stickum. When you made an error. you’d backspace, put the patch between the ribbon and paper, hit the bad character to lift it, then backspace again and continue typing. It sounds horrible, but compared to white-out or a typewriter eraser it was glorious.
